Sunday, 7 December 2014

Week 8 (1-5 Dec 14) - Underslab Insulation, formwork

Installation of the XPS foam began on the weekend in very hot (for Melbourne) conditions.  The detailing of how the XPS foam was to be installed was not well defined and practically became extremely difficult to come up with a workable solution.

What should have been installed

The initial concept for the build was to put the foam on top of a structural slab with a further screed slab on top.  This would have allowed for a very simple installation of the insulation with minimal thermal bridges.  Unfortunately, the structural engineer persuaded us to use a single slab on a cost basis.  In reality, the original concept would have been less expensive and much simpler to implement.  Lesson learnt!

What was installed


The issues were as follows ;
The foam was not self supporting and needed to be pegged in position.  As the raised elements of the  slab i.e. the bits between the beams was not precisely cut, because in a normal slab the concrete fills the voids the foam had to be backfilled to prevent the foam being pushed in when the concrete was being poured.  This caused another problem as before the concrete is poured there is nothing to support the backfill.  Various attempts at finding a solution were tried and failed. Finally, it was decided to leave pegs in place under the waterproof membrane that keep the foam in place.   unfortunately this adds a thermal bridge through the foam in the bottom of the trench and creates a void between the concrete and the XPS.

And yes, the XPS was suitable to be placed below the damp course layer.  According to the manufacturer's specification a typical reduction in insulation of performance of 0.6%(by volume) can be expected due to water  ingress.  (see - http://www.knaufinsulation.com.au/media/1000777/climafoam_xps_board_datasheet_web.pdf)

The sequence of events for the foam installation are as follows;

1/ Foam is cut and placed around the sides of the beams - in this case either side of a construction joint.  The tops of the piers are exposed.

2/ XPS is added to the area between the piers and sand is backfilled behind the foam to stop the concrete from collapsing the foam inwards.

 3/ Top sheets are laid out and pier locations are marked so they can be cut to expose the piers

 4/ We started cutting the piers holes in the XPS with a hot knife but found a simple jig saw with a long blade was faster and provided a better finish.


5/ The damp proof plastic is then laid over the XPS and cut to expose the piers

 6/ The piers holes are then sealed to provide a continuous damp proof layer

7/ Around the outside edge of the slab the first layer of ICF foam is nailed to the inside of the form work.  This becomes the start of the ICF walling system and provides the insulation for the slab edge.
The ICF supplier is Ecoblock (http://www.eco-blockaustralia.com.au/) - sold via Polycon (http://www.polycon.com.au/) in Victoria. 


8/ Where dowels are required in the edge beam piers a pultruded fibreglass dowel is used to reduce thermal bridges between the ground and edge beams. These dowels are 20mm and manufactured by V-Rod and supplied by Inconmat (http://www.inconmat.com.au/) in SA.

9/ The ICF corner profile is thicker than side wall

Other ICF suppliers worth consideration;


Week 6/7 (17-28 Nov 14) Gabion Wall, Footings

The main services trench to front gate completed.  The electricians were on site to add the mains cables and data for intercom and other services.  In the same trench there was also gas, water, storm water for driveway drain and additional water pressure pipe to allow tank water to be pumped to front fence gardens.

On the weekend we put in another retaining wall towards the back of the block to provide stability to the path and slope.   This time we used a gabion cage wall or wire baskets filled with rocks.  The time consuming part was the construction of the cage but we were able to move 8.3tons of rock with the assistance of the Vemeer mini loader and completed the wall in one day.


The end result was in fitting with the surrounding bush area.


The concretors were back on site to complete front fence footings and get slab set up for formwork and slab pour.


Yet another digger - I have officially lost count now..


The XPS foam arrived on site, 5 piles, 150 sheets, 400m2.


Week 5 (10 Nov 14) - Site Clean Up and Plumbing Preparation

Site cleanup - moved the 50+ m3 of dirt removed from pier holes to a location easily loaded to be taken away - another machine but since I was driving it there were no photos..  Yet another machine and truck to remove the dirt..


And almost as soon as the last truck left the plumber arrived on site, measured up and began making more dirt!


Greywater
We thought it would be a good idea to add a grey water diverter system to the build so that we could reuse the water on the garden.  Perhaps its the shiny new desal plant that Victoria installed a couple of years ago, or the lack of clarity from local councils about regulations and requirements but nobody seems to buy these systems any more.  The system we were looking for would divert water immediately to the garden and not store any water for more than 24hours (regulation!).  Also, it was important that any filters would be easy to clean, and hopefully not needing cleaning on a regular basis.  The Greyflow PS (http://www.greyflow.net.au/index.php/product-selection-guide/grey-flow-ps) was chosen.  It had the advantage of being staged installed - i.e. the basic system could be installed with the plumbing and the pump and control system could be added later, once the house is complete.  It also, has the option of adding an automatic cleaning system that means filters only need to be cleaned annually.


Piers
Of the 155 piers we got 4 wrong...
We just realised that the 4 of the piers we bored and filled with concrete were in the wrong place.  Of course these were under one of the two construction joints!! However, luckily they were some of the piers that we also bored to 600mm rather than 450mm so they are still under the joint..

Sunday, 16 November 2014

Week 4 - Piers

Finally got the contracts signed for the ICF walls and concrete slab on Saturday.  The concretor was on site Monday, measuring up for the pier boring that was scheduled to start on Wednesday - Tuesday being a public holiday in Melbourne for the Melbourne Cup.

The first hole, of the 150 in total, was started on Wednesday morning (just.. after a few dramas with flat tyres on the excavator transport work commenced about 11:30).  By the end of play on wednesday evening, about 30 holes were complete but it was about this time that we discovered that the 600mm auger had been used instead of the 450mm.  This slowed things down a bit and meant that there was a lot more dirt coming out of the holes than expected.  The good(?) news is there will be a lot more concrete in the ground...

Yet another machine on site, digger count now 5.

The drilling uncovered some of the old foundations of the original house that was on the site.  The block on the left was the sum total of the concrete footings under each stump - a little bit different to the footings of the new house.  For scale, that is a standard house brick on the right of the photo.


Got to give it to the concreters, each day starts with an espresso, brewed on site..

All holes were done by Friday afternoon ready for the building inspector - all passed with flying colours.

 On Saturday morning, 8am the concrete pump was setup and ready to go for the first of the 45m3 of concrete to be pumped into the holes.  Don't think we made any friends with the neighbours with the air horn of the pump truck blowing at the end of every hole to alert the concrete truck drivers to stop filling the hopper.

I took the opportunity to place a temperature sensor at the bottom of the 3 of the piers.  The idea being to check the ground temperature at 2m below the surface and see how the data from PHPP compares.  The data will be logged and plotted over the year.  Additional, sensors will also be embedded into the concrete slab above and below the insulation and in the ICF wall to profile the performance of the insulation.  Of course, this info. will be too late for our build but may be useful to others in the future.

The sensors are a DS1820 digital thermometer with a 0.5 degree C resolution purchased on Ebay.  To make readings I will need a small computer, probably a Raspberry Pi, or Arduino to decode the signals from the sensor.


 After concrete was in the pier.


Sunday, 26 October 2014

Windows decision

We have finally decided on the windows.  Went with Creative Windows (http://www.creativewindows.com.au/) in Braeside who are fabricating the Schuco (http://www.schueco.com/web/au) frames.  After a number of discussions with other suppliers, and nearly placing the order with Qualital (http://www.qualital.com.au/) we went with a locally made product.  Qualital pricing was very good and the quality of the windows was also very good but they do not provide local installation and since all windows are imported, any glass breakages mean that you either have to wait for replacement glass from Europe or use a locally sourced product which inevitably will have a different appearance.

Initially, Creative offered a double glazed window with Low E glass but were only able to achieve a U-value of 1.61 and a SHGC of 0.59 (Qualital were offering U-value of 1.2 and a SHGC of 0.59). In addition, the Shuco frames (not their passive house version) performed worse than the Qualital composite frames.

Working with Creative to find alternatives they offered a locally double glazed product with a U-value of 1.34 which was approaching the Qualital numbers but the SHGC was only 0.27 which meant that was not enough solar gain and had a significant impact on the Space Heating Demand when modelled in PHPP (Passive House Planning Package) with numbers exceeding 30kWh/m2a.

Clearly, this was not acceptable, so I asked Creative to explore the cost impact of going to triple glazed, we had quotes from other suppliers and they indicated that the jump to triple glazed would only add 5% to the cost, but they were European windows so I was keen to see how Australian made units compare.  The first pass saw an increase of >8% but the suppliers of the glazing and Creative began to tweak the specification and ended up with a 5mm/8 argon/4mm Energytech / 8 argon / 5mm Energytech glass option with a U-value of 1.0 but still retaining a SHGC of 0.59.

To further keep the costs down but keep as much performance as possible, we downgraded a number of very small windows (eg.450x450mm) where the frames had a significant impact on the overall window U-value back to double glazed.  This left all of the North facing windows (90% of the total glazed area) as triple glazed.  It saved a few thousand dollars and had little impact on the SHD.

The new Space Heating Demand is 15.99kWh/m2a and a Heating Load of 9.9 W/m2 - so border line within the PH requirements but the model is not complete - so watch this space...

Other window suppliers worth consideration;


Tuesday, 21 October 2014

Week 3 - Finishing retaining walls and slab setout

By Tuesday afternoon on week3 the final retaining wall is complete..


Next job is to set out the slab ready for the concretor to work on the piers next week.  As with the retaining wall there are a lot of piers.

The setting out is pretty much complete, just got to double check measurements..


Having a few issues with the contractor for the slab and ICF walls, basically contract details, but all should be sorted Monday or Tuesday at the latest.  If they start on Wednesday we should only be a few days behind schedule and this can be caught up later - still hoping to get the roof framing done by Xmas, with the roof to go on in Mid Jan.

Week 2 - Site Cut and More Retaining Walls

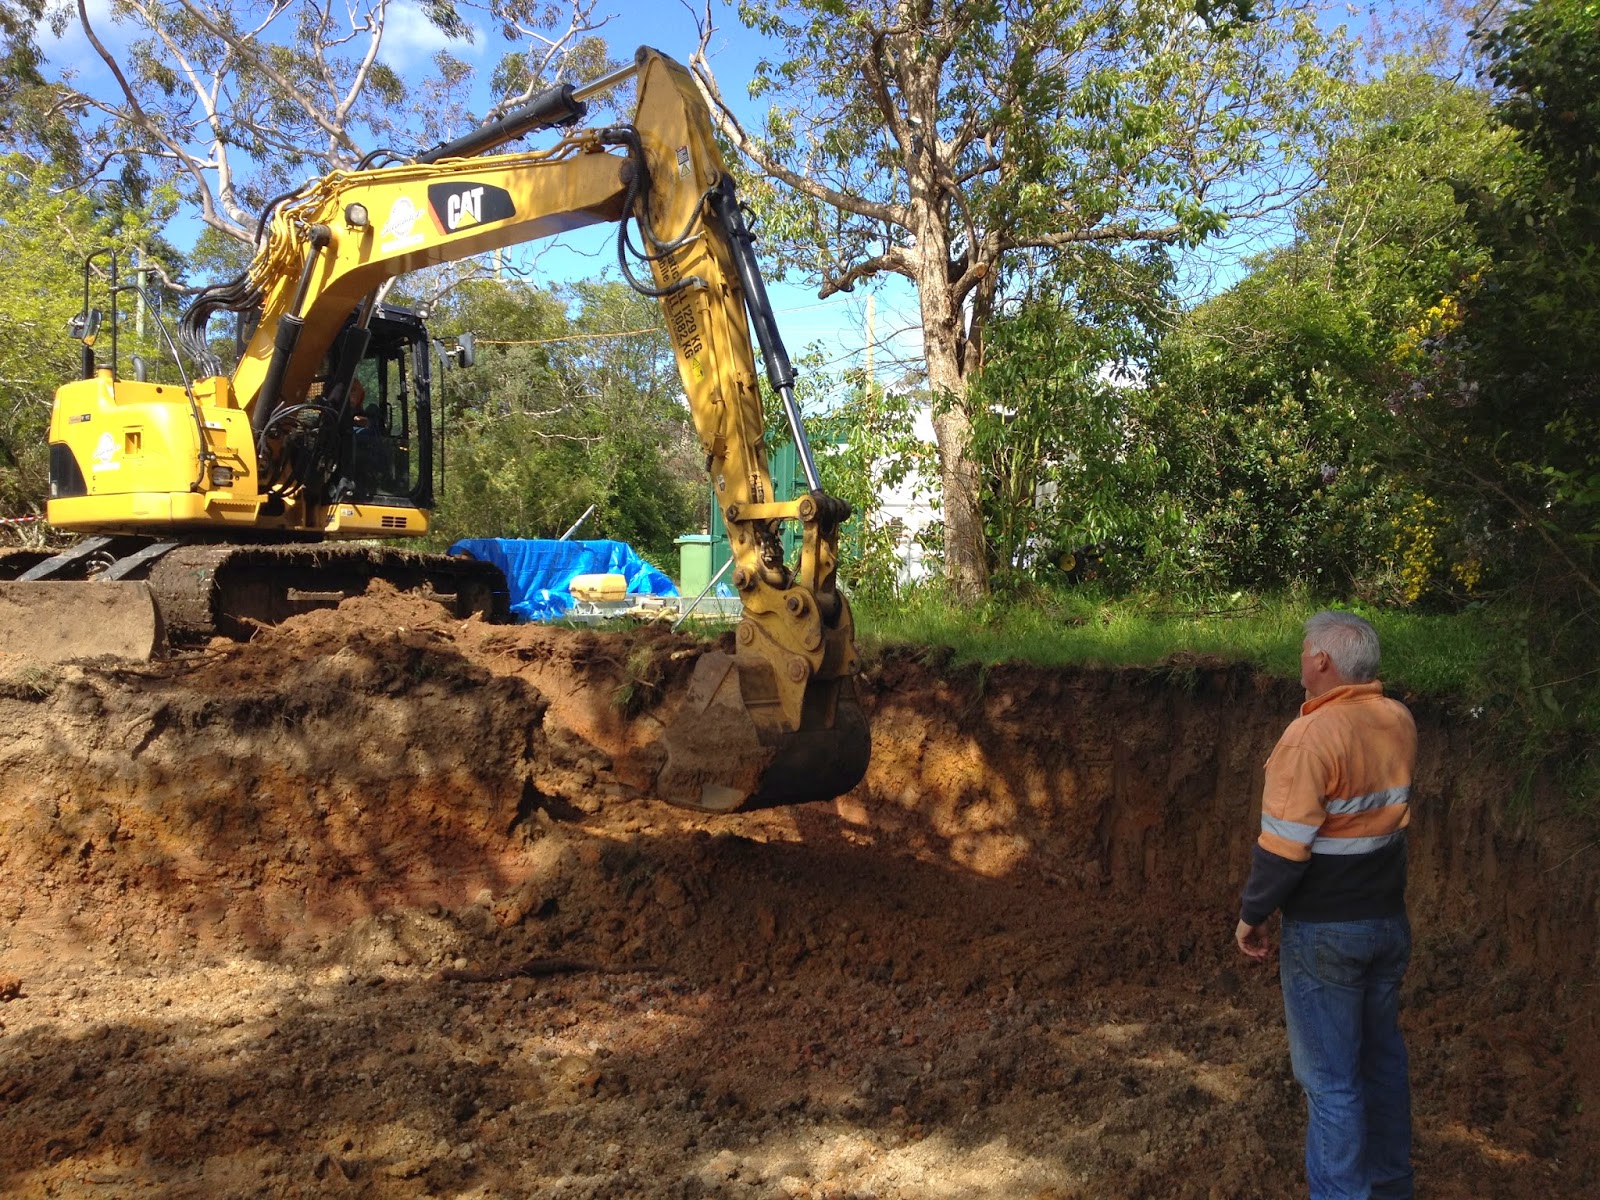
Week 2 started the Friday before with a 14 ton excavator being dropped off to site.  Monday morning 7am, the digging began.


The first of 19 trucks to take dirt away.  300m3, of course we only allowed for 150m3 - the first variation.


The hole got bigger and bigger..


Pretty well done by Tuesday afternoon.


On Wednesday work begins on the next retaining wall.
This time its 49m long but only normal foundations i.e. same depth as height


Thursday, 16 October 2014

Week 1 - Retaining Wall

The first week kicked off with confirmation from the building surveyor that we were good to start the project despite not yet formally receiving the Flood Prone - Report and Consent from the council.

The retaining wall on the north side of the house is to allow a level area in front of the house. It is 28.5m long and due to the landslip issues the wall is engineered with 3 meter foundations with posts at 1500 centres.  


The holes are deep!


The posts weighed over 80 kg each, the contractor decided to position them without a machine


At the end of day 2, half of the posts were in..


The local wildlife gave the posts their stamp(?) of approval.


It was decided to use wheelbarrows rather than a concrete pump to save money.


The end of day 3 only 3 posts to go..


Almost done..


Sunday, 5 October 2014

Site Layout and Floor Plan

Here is the site plan.  The double storey brick house was demolished in 2010 to make way for the previous design/build concept.


The floor plan and layout of the new design